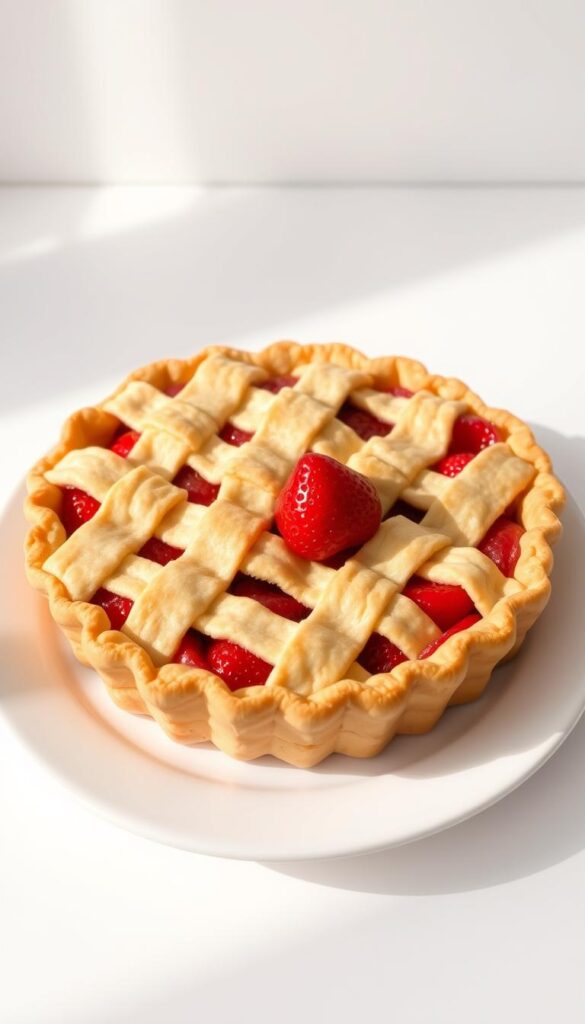
Summer is here, and so are the fresh strawberries! With the abundance of juicy strawberries, you can create a delicious dessert that’s perfect for hot days when you don’t want to heat up the kitchen.
Introducing a simple no bake strawberry pie recipe that’s ideal for beginners. This dessert requires minimal preparation and features a graham cracker crust filled with a sweet and tangy strawberry filling.
You’ll be impressed by how easy it is to make this pie that’s sure to be a crowd-pleaser. With this recipe, you’ll learn how to select the right ingredients and assemble the pie for a stunning summer treat.
Key Takeaways
- Easy-to-follow recipe for a delicious no bake strawberry pie
- Perfect dessert for hot summer days without heating up the kitchen
- Features fresh strawberries as the main ingredient
- Simple graham cracker crust and strawberry filling
- Ideal for beginners looking to build their dessert-making confidence
The Perfect Summer Dessert
As the summer months approach, a refreshing dessert is just what you need to beat the heat. This fresh strawberry pie with a no-bake graham cracker crust is the perfect treat for hot days.
Why You’ll Love This No Bake Strawberry Pie
This no bake strawberry pie is a quintessential summer dessert, offering a refreshing taste and beautiful appearance. It showcases the natural sweetness of fresh strawberries without overwhelming them with too many other flavors. The convenience of a no-bake dessert is especially appreciated during hot summer months.
When to Serve This Refreshing Treat
Serve this pie at summer barbecues, pool parties, or Fourth of July celebrations. It’s also perfect for casual family dinners. The make-ahead nature of this dessert makes it ideal for entertaining, as it can be prepared hours before guests arrive. The vibrant red color of the strawberries makes this pie visually appealing.
| Occasion | Why It’s Perfect |
|---|---|
| Summer Barbecues | Refreshing and easy to serve |
| Pool Parties | Cooling dessert for hot days |
| Fourth of July Celebrations | Patriotic colors and flavor |

Ingredients You’ll Need
Before you start making your no-bake strawberry pie, gather these essential ingredients. You’ll need a few simple components for both the crust and the filling.
For the Graham Cracker Crust
To make the graham cracker crust, you’ll need 1½ cups graham cracker crumbs, ¼ cup granulated sugar, and 6 tablespoons melted butter. The graham cracker crumbs provide the base structure, while the sugar adds a touch of sweetness, and the butter binds the crust together.
| Ingredient | Quantity |
|---|---|
| Graham Cracker Crumbs | 1½ cups |
| Granulated Sugar | ¼ cup |
| Melted Butter | 6 tablespoons |
For the Strawberry Filling
The strawberry filling requires 8-10 cups fresh strawberries (about 3 lbs), 3 tablespoons cornstarch, 1 tablespoon fresh lemon juice, ⅓ cup granulated sugar, ⅔ cup water, and 3 ounces strawberry Jell-o. Fresh strawberries are crucial for the best flavor and texture. If they’re not available, you can use frozen strawberries with some adjustments.

Using fresh, ripe strawberries ensures the best flavor. You can also consider optional ingredients like vanilla extract or a pinch of salt to enhance the strawberry flavor.
Kitchen Tools Required
Before you start, ensure you have the necessary kitchen tools for this no-bake strawberry pie. Having the right equipment makes the process smoother and more enjoyable.
Essential Equipment
You’ll need a few basic tools to get started. These include measuring cups and spoons, a mixing bowl, and a standard 9-inch pie plate to hold your pie. A food processor or blender is helpful for pureeing strawberry filling, though you can also mash them manually if needed.
Optional Tools That Help
Some tools aren’t essential but can make the process easier. A pastry blender is useful for mixing the graham cracker crust, while a silicone spatula helps in folding ingredients gently. A pie server ensures clean slices when serving. You can still make the pie without these, but they add convenience. Managing your time and getting the mixture right is easier with the right tools, and you won’t need to bake anything.

Making the Perfect Graham Cracker Crust
A homemade graham cracker crust is the foundation of a delicious no-bake strawberry pie. To create this crust, you’ll need to combine graham cracker crumbs with butter to form a cohesive mixture.
Step-by-Step Crust Instructions
Start by crushing graham crackers into fine crumbs. Then, mix these crumbs with melted butter until the mixture is evenly moistened. Press this mixture into the bottom and up the sides of a standard 9″ pie plate. Use the bottom of a measuring cup to ensure an even surface.
Tips for a Sturdy Crust
To ensure your graham cracker crust holds together, chill it in the refrigerator for 30 minutes before adding the filling. This step helps the crust set properly and maintain its structure. A well-made cracker crust is worth the extra effort, as it provides better flavor and texture than store-bought alternatives.

Preparing Fresh Strawberries
To ensure your no-bake strawberry pie is bursting with flavor, start with the freshest strawberries possible. The quality of your berries directly impacts the overall taste of your pie.
Selecting the Best Strawberries
When choosing fresh strawberries, look for bright red color and a sweet aroma. Avoid any berries showing signs of mold or mushiness. Opt for smaller strawberries as they are often sweeter and work better in pies than larger varieties that may lack flavor.
Washing and Hulling Techniques
To wash your strawberries, gently rinse them under cold running water, then gently pat dry with a paper towel to remove excess moisture. For hulling, use a small knife or strawberry huller to remove the stems and leaves without wasting the fruit. Proper preparation ensures your pie isn’t soggy and that you maximize the strawberry flavor.
Creating Your No Bake Strawberry Pie Filling
The heart of your no bake strawberry pie lies in its filling, which can be made using two distinct methods. The filling is what brings all the flavors together and gives your pie its signature taste.
The Jello Method
To create the filling using the Jello method, start by whisking together ¾ cup of strawberry puree, cornstarch, sugar, water, and lemon juice in a medium saucepan. Cook this mixture over medium-high heat, stirring constantly, until it comes to a boil. Let it boil for 2 minutes. Then, turn off the heat and stir in strawberry Jell-o. This method ensures a consistent and vibrant flavor.
The Fresh Strawberry Glaze Method
For a more natural approach, you can use the fresh strawberry glaze method. Although the provided data focuses on the Jello method, the principle of creating a strawberry puree as a base remains the same. You can adjust the sweetness of the filling based on the natural sweetness of the strawberries you’re using. This method allows for a fresher taste and can be a great alternative for those looking to avoid Jell-o.
Regardless of the method you choose, it’s crucial to cook the filling mixture with constant stirring to prevent scorching or lumps. The filling is ready when it coats the back of a spoon and is thick but still pourable. After cooking, let the mixture cool to room temperature, about 30 minutes, before combining it with fresh strawberries. This cooling process is essential for achieving the right consistency and preventing the filling from becoming too runny.
Assembling and Chilling Your Pie
Now that you have prepared your crust and filling, it’s time to bring them together. Assembling your no-bake strawberry pie is a simple yet crucial step in creating a delicious dessert.
Putting It All Together
To assemble your pie, start by stirring together the prepared strawberries and the cooled glaze in a large bowl. Refrigerate this mixture for 10 minutes to allow the flavors to meld. Then, spoon the berries into the graham cracker crust, arranging them attractively by turning the cut side down. Rearrange the berries to fill any holes, creating a smooth surface.
Proper Chilling Time
Refrigerate the pie for at least 4 hours or overnight to allow the filling to set completely. Proper chilling time is essential for a pie that’s easy to serve. Cover the pie with plastic wrap or aluminum foil to prevent condensation on the surface.
| Chilling Time | Result |
|---|---|
| Less than 4 hours | Runny pie |
| 4 hours or more | Firm and ready to serve |
By following these steps, you’ll have a beautifully assembled and chilled no-bake strawberry pie that’s sure to impress.
Serving Suggestions and Variations
Now that your no-bake strawberry pie is ready, let’s explore some exciting ways to serve and customize it. Serving your pie with whipped cream is a classic choice that complements the sweet-tart strawberry flavor perfectly.
Topping Ideas
While whipped cream is a popular topping, you can also consider other creative options. Try garnishing with chocolate shavings, fresh mint leaves, or a light dusting of powdered sugar to add a touch of elegance to your pie. You can also use fresh strawberries to create a beautiful and delicious topping.
Delicious Flavor Variations
The basic no-bake strawberry pie recipe can be modified to create different flavor variations. You can switch the gelatin flavor to make a pie with any fruit flavor you can imagine. For example, try using lemon or lime gelatin for a citrusy twist. You can also experiment with adding a layer of cream cheese for a strawberry-cheesecake hybrid or incorporating other berries for a mixed berry pie.
| Flavor Variation | Description |
|---|---|
| Lemon or Lime | Use lemon or lime gelatin for a citrusy twist |
| Strawberry-Cheesecake | Add a layer of cream cheese for a hybrid dessert |
| Mixed Berry | Incorporate other berries for a mixed berry pie |
Conclusion: Enjoy Your Homemade No Bake Strawberry Pie
Now that you’ve learned how to make this simple no bake strawberry pie, it’s time to enjoy the fruits of your labor. To keep your pie fresh, store it in the refrigerator, covered lightly with plastic wrap, where it will last up to 5 days. This homemade strawberry pie recipe is perfect for summer parties and is even better when made up to 24 hours in advance.
Feel free to experiment with different fruits or flavor combinations once you’ve mastered the basic recipe. Don’t worry if your first attempt isn’t perfect – the pie will still be delicious, and you’ll improve with each try. Make it during peak strawberry season for the best results, and share your creations on social media to connect with other no-bake pie enthusiasts.
Mastering this simple pie recipe will give you the confidence to try more complex desserts in the future. So go ahead, give it a try, and enjoy your fresh strawberry pie this summer!
FAQ
How long does the no bake strawberry filling take to set?
The filling typically takes a few hours to set in the refrigerator. You can check it’s set when it’s firm to the touch and holds its shape.
Can I use frozen strawberries instead of fresh ones?
While fresh strawberries are recommended for the best flavor and texture, you can use frozen strawberries as a substitute in a pinch. Just be sure to thaw and pat them dry before using.
How do I prevent the graham cracker crust from getting soggy?
To keep your crust crisp, make sure to chill it in the refrigerator for at least 30 minutes before filling. You can also try baking it for a few minutes to set it.
Can I make this dessert ahead of time?
Yes, you can prepare the pie a day in advance. Simply assemble and chill it in the refrigerator until you’re ready to serve.
What’s the best way to store leftover pie?
Store any leftover pie in an airtight container in the refrigerator for up to 2 days. You can also freeze it for longer storage, just be sure to thaw it in the refrigerator before serving.
Can I customize the whipped cream topping?
Absolutely! You can flavor your whipped cream with vanilla extract, sugar, or other flavorings to match your taste preferences.